
You're on your iPad, a PDF just landed in Mail or Files, and you need to do something with it now. Maybe it's a report that needs comments, a lecture handout that needs highlights, or a contract that needs a signature before the meeting starts. That's where the iPad shines. It's fast, portable, and with the right method, it handles PDF markup far better than expected.
The catch is that annotating PDFs on iPad can mean very different things. Quick highlighting is easy. Clean handwritten notes, exportable comments, and safe handling of fillable forms take more judgment. The best workflow depends on whether you need speed, advanced controls, or a no-install option that works from the browser.
Table of Contents
- Your Guide to Annotating PDFs on an iPad
- The Instant Method Using Apple's Built-In Markup
- Advanced Annotation with Third-Party Powerhouse Apps
- Annotate PDFs Instantly with a Browser-Based Tool
- Mastering the Apple Pencil for Professional Annotations
- Saving Sharing and Finalizing Your Annotated PDF
- The Best PDF Annotation Method for You
- Frequently Asked Questions About iPad PDF Annotation
Your Guide to Annotating PDFs on an iPad
Annotating a PDF on an iPad usually comes down to three paths.
The first is Apple's built-in Markup. It's already there, it opens fast, and for common tasks like highlights, quick comments, signatures, and simple shapes, it's often enough. If you're reviewing a reading assignment, circling a date on a form, or approving an invoice, this is usually the fastest route.
The second path is a dedicated PDF app. Workflows become more serious with them. If you need better organization, annotation export, audio notes, form support, or cleaner handling of large document sets, apps like GoodNotes, Notability, and Adobe Acrobat are better choices.
The third is a browser-based PDF tool. That matters when you don't want another app, when you're on a borrowed device, or when you need a quick document edit alongside related tasks like PDF to Word, Word to PDF, Merge PDF, Split PDF, OCR, or document compression. Browser tools also fit well into short productivity sessions where you want to upload, annotate, download, and move on.
Practical rule: Pick the lightest tool that safely handles the job. Fast native markup beats a heavyweight app for simple comments, but the wrong lightweight tool can break a form or limit sharing later.
The Instant Method Using Apple's Built-In Markup
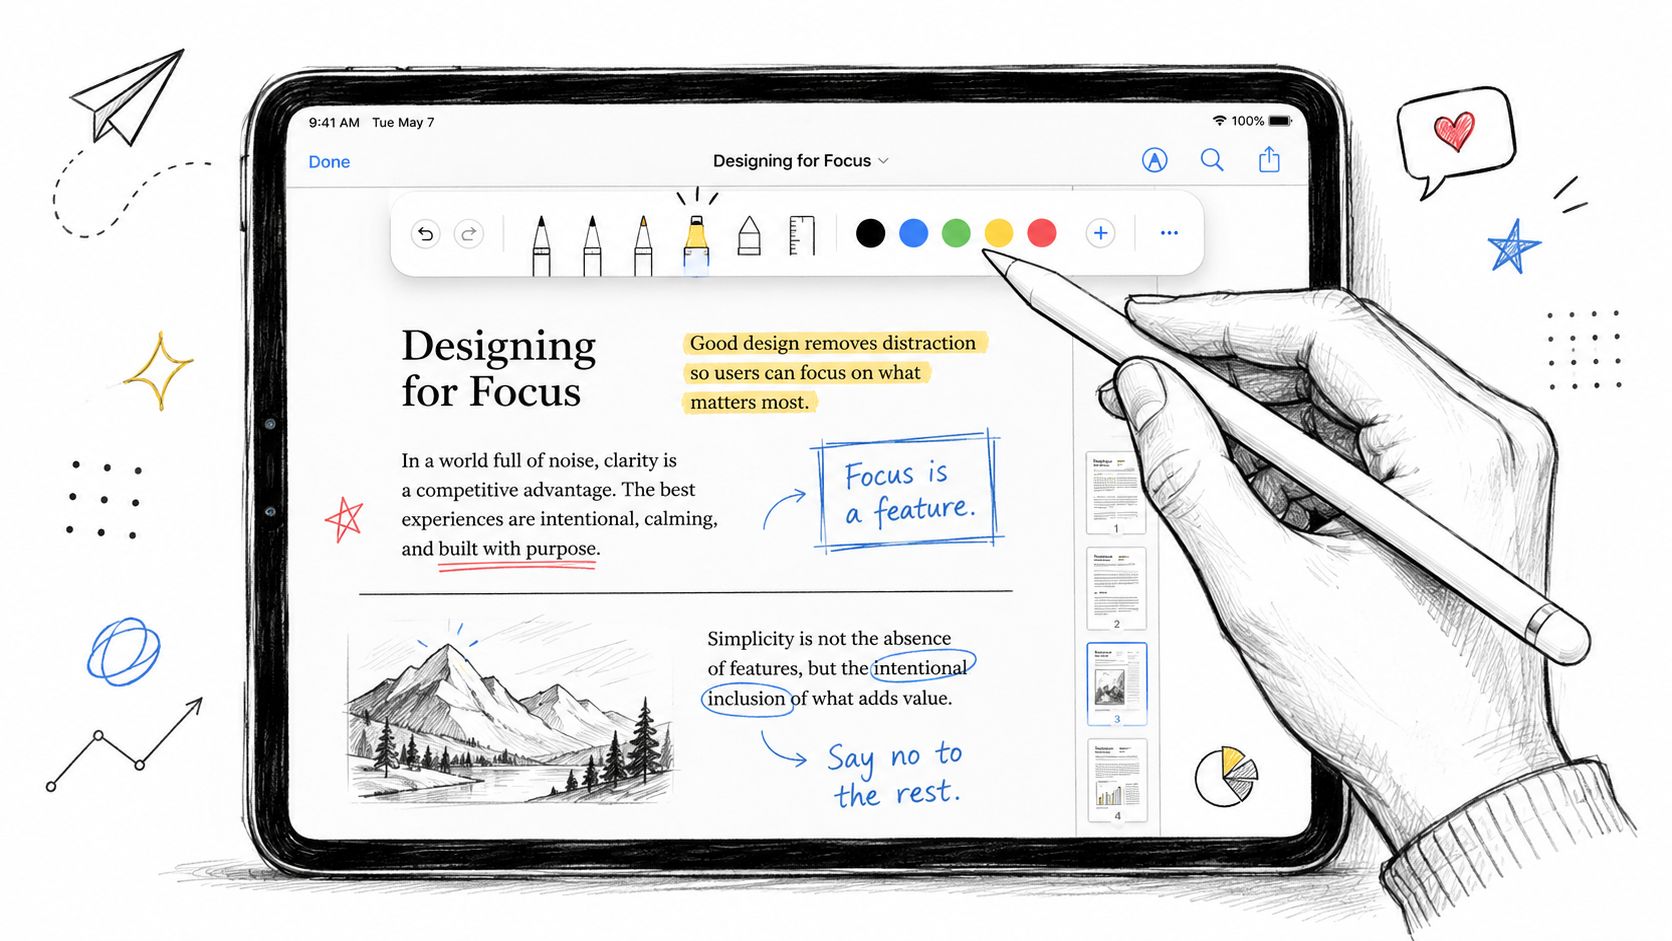
The fastest answer to annotating PDF on iPad is often the one Apple already provides. Approximately 78% of iPad users utilize Apple's built-in Markup tools to annotate PDFs, and Apple introduced these capabilities in iPadOS 13. Instant Markup is accessible through the Share button or the dedicated Markup icon in apps like Mail, Files, and Photos according to iMore's overview of iPad PDF apps.
When native Markup is the right tool
Native Markup is ideal when the job is clear and limited. You open a PDF, add the marks, save, and send it back. No setup, no sign-in, no hunting through app settings.
It works especially well for:
- Reading and review: Highlight key passages in a research paper or course packet.
- Approval workflows: Add initials, quick notes, or a signature to an invoice or internal document.
- Basic visual feedback: Circle errors, draw arrows, and drop in a text box when someone needs simple revisions.
If you often receive documents from outside your normal workflow, Markup is also the easiest place to start before deciding whether the file needs deeper editing or conversion. If a file arrives in the wrong format, it also helps to know how to create a PDF from common document inputs before you begin reviewing it.
How to annotate in Files and Mail
The built-in method is straightforward once you know where Apple hides the controls.
In the Files app
- Open Files and locate the PDF.
- Tap the PDF to open it.
- Tap the Markup icon (the pen tip in a circle, or marker tip depending on the interface).
- Use the toolbar to choose a pen, pencil, or highlighter.
- Tap the plus icon to add text boxes, signatures, shapes, or magnifier elements.
- Tap Done when finished.
This approach is built for quick action. You don't need to export the file into another app first, and the edits stay tied to the document.
In Mail
- Open the email attachment.
- Tap the PDF preview.
- Look for the Share or Markup control.
- Add notes, draw, or sign directly on the attachment.
- Save and reply with the annotated version.
A manager approving a contract amendment or a freelancer signing a PDF estimate can finish the task from Mail without leaving the conversation thread.
A short walkthrough can help if you haven't used Apple's tools recently:
What works well and what does not
Apple's native workflow is strong because it removes friction. On iPads running iOS 15+, users can annotate directly in Files without installing anything, and a referenced workflow for basic tasks like highlighting and freehand drawing reports a 98% success rate, with accidental deletion during novice sessions showing up as a key pitfall in 12% of sessions in Adobe Acrobat's guide to annotating PDFs on iPad.
That lines up with real use. Markup is excellent when you need to move quickly, but it has limits:
- Great for speed: Highlights, signatures, arrows, underlines, and short comments.
- Less suited for complexity: Heavy document review, advanced note structures, or workflows that depend on specialized export.
- Easy to overlook mistakes: If you remove or alter ink by accident, the interface doesn't always make recovery obvious to new users.
Use Apple Markup when the PDF is basically finished and you're adding feedback. If the PDF is part of a larger process, such as collaboration, redaction, or structured export, a dedicated app is usually safer.
Advanced Annotation with Third-Party Powerhouse Apps
Once your workflow moves beyond quick comments, native Markup starts to feel small. The difference isn't just extra features. It's control. You get better file organization, stronger exports, and more predictable handling of professional review tasks.
In 2025, third-party PDF apps like PDF Expert, GoodNotes, and Notability had a combined 127 million active users, and 56% of users who annotate monthly preferred these apps for advanced features such as annotation export, folder-based organization, and AI summaries according to PDF Expert's iOS annotation guide.
Why power users move beyond Markup
Third-party apps matter when annotations are part of a repeatable system rather than a one-off action.
A student may want all annotated readings grouped by course. An office team may need comments exported separately from the original PDF. A consultant may need fillable forms, version comparison, or a cleaner handoff between iPad and desktop. Those are the moments where native tools stop being convenient and start becoming restrictive.
There's also a practical difference in annotation depth. Some apps let you work with text boxes, pop-up notes, audio notes, and annotation summaries in ways the built-in tools don't.
The right app isn't the one with the longest feature list. It's the one that matches how your documents move after you finish marking them up.
iPad PDF Annotation App Comparison 2026
| Feature | GoodNotes | Notability | Adobe Acrobat Reader |
|---|---|---|---|
| Best fit | Students and structured note-takers | Students who mix notes with lecture review | Office, legal, compliance, and form-heavy work |
| Core strength | Notebook-style organization for PDFs and handwritten notes | Strong note workflow with audio-centered study habits | Formal PDF workflow and business document handling |
| Annotation style | Handwriting, highlights, shapes, text boxes | Handwriting, highlights, text, shapes | Comments, highlights, stamps, drawing, form-oriented review |
| Organization | Excellent for subject and folder-based setups | Good for subject-based note collections | Better for document-by-document review than notebook-style storage |
| Export approach | Useful when you live inside organized course or project folders | Helpful when notes are part of a lecture review routine | Better when documents need to move through business processes |
| Form handling | Basic for many casual uses | Better for study than admin workflows | Best option here among the three |
| Best use case | PDF textbooks, readings, handwritten margin notes | Lecture materials and review sessions | Contracts, reports, compliance documents, fillable forms |
A few app-specific realities are worth noting qualitatively. GoodNotes is strong if your PDF annotation lives inside a larger note system. Notability makes sense when the PDF is part of an active study flow. Adobe Acrobat is usually the safest choice when documents need to preserve formal structure, especially around forms and office review.
Which app fits which workflow
GoodNotes for organized study and project folders
GoodNotes works best when the PDF is only one piece of a broader notebook workflow. You can keep handouts, textbook pages, and handwritten notes together instead of scattering them across apps.
That's useful for students, researchers, and anyone who wants their annotations grouped by subject rather than by file location.
Notability for classes and review sessions
Notability is often the better fit when your notes are tied to spoken explanations or class material. Its overall style is less about document archive and more about learning flow.
If your process is “open lecture PDF, write on top, review later,” it feels natural.
Adobe Acrobat Reader for formal document work
Acrobat is where many office workers end up when PDFs stop being casual. It handles business documents with fewer surprises, especially when forms, approvals, or structured review matter.
If your day involves contracts, policy updates, compliance packets, or client forms, Acrobat usually creates fewer downstream issues than a note-first app.
For people who need editing beyond annotation, a browser option can still complement these apps. For example, if the document needs quick fixes before review, a free PDF editor without watermark can be useful in a broader document workflow.
Annotate PDFs Instantly with a Browser-Based Tool
There are times when installing an app is the wrong move. Maybe the iPad isn't yours. Maybe you only need to mark up one file. Maybe you're trying to avoid mixing sensitive work documents into a long list of personal apps and cloud sync settings.
That's where browser-based annotation earns its place.
When a browser tool makes more sense
A web tool is a smart option when the document task is temporary, urgent, or part of a broader conversion workflow. Instead of thinking only about markup, think about the full chain. You may need to annotate, then compress, convert, merge, split, protect, or extract pages. A browser-based PDF workspace handles that kind of mixed task list well.
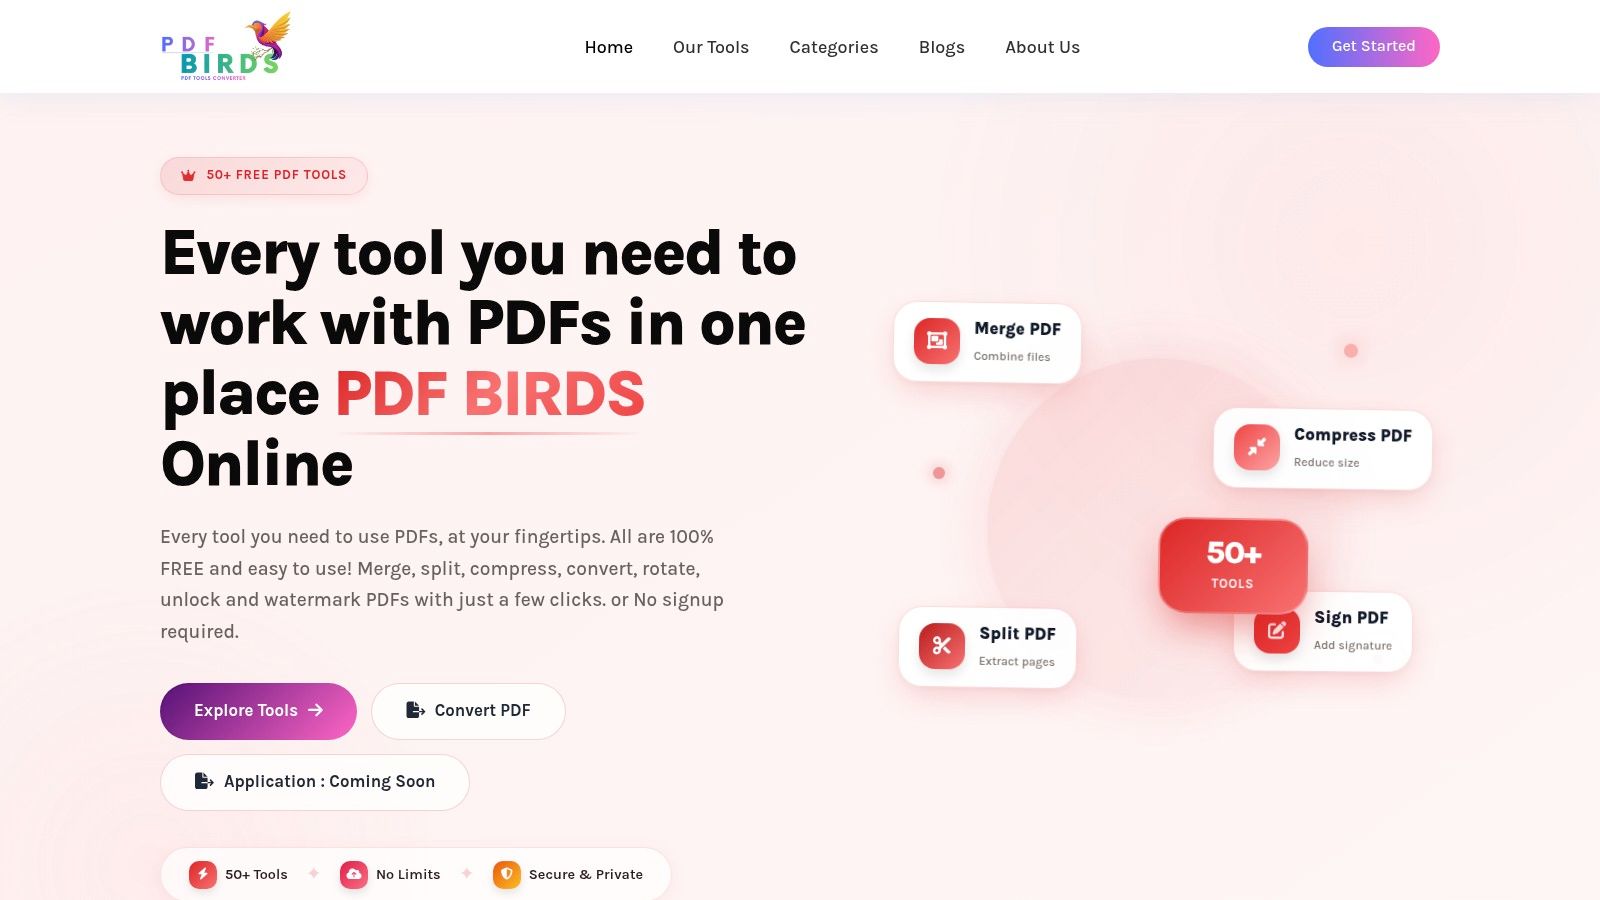
PDF BIRDS fits that use case cleanly. It's browser-based, works on iPad in Safari, and groups editing, conversion, organization, and security tools in one place. That matters if your annotation task turns into “sign this, convert it to Word, then send a smaller version by email” five minutes later.
A simple workflow in Safari
The browser route is straightforward:
- Open Safari on your iPad.
- Go to PDF BIRDS.
- Choose the PDF editing or annotation tool that matches the task.
- Upload the file.
- Add text, shapes, markup, or signatures as needed.
- Download the finished PDF.
This approach is especially practical when you don't want to commit a document to an app library. It also works well for quick office jobs, student submissions, and shared-device use.
What I like about browser workflows is that they force discipline. You upload the file, finish the task, download the result, and move on. You're less likely to leave half-reviewed copies across multiple apps, which is a common source of version confusion.
Mastering the Apple Pencil for Professional Annotations
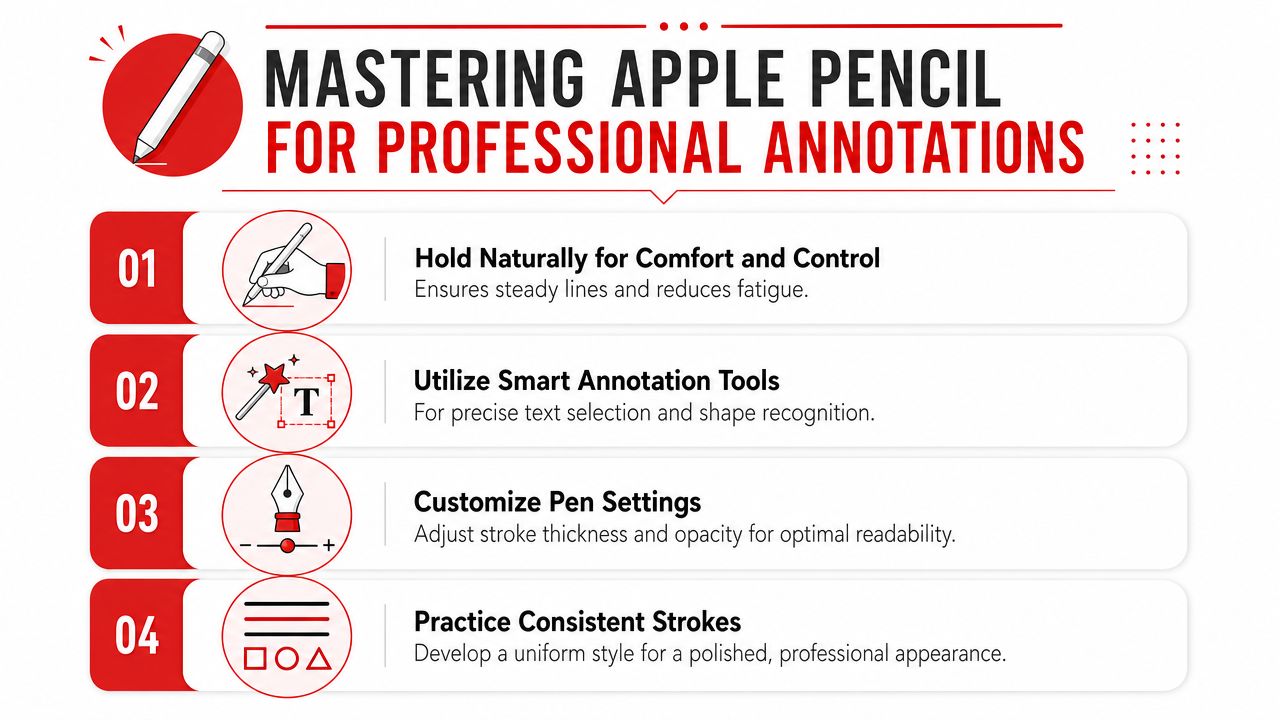
Many tutorials treat Apple Pencil like a digital crayon. That's the wrong mindset if you want annotations that remain readable in legal, medical, academic, or client-facing documents.
A 2026 review of top iPad annotation apps found that 85% of beginner guides treat Apple Pencil as a static input, while apps such as Drawboard and Adobe Acrobat support dynamic pressure responses that matter for professionals who need legible handwritten annotations according to this Apple Pencil annotation review on YouTube.
Use pressure and thickness intentionally
If your app supports pressure-sensitive input, stop using one pen setting for everything.
A better approach is to assign visual meaning to stroke weight:
- Fine line for underlining: Keeps text readable and avoids clutter.
- Medium stroke for margin notes: Good for handwritten short comments.
- Thicker line for circling or callouts: Helps reviewers spot key sections immediately.
- Lower opacity for highlighting-style emphasis: Better than opaque marker strokes over dense text.
This matters more than people think. Contracts, patient records, and technical reviews need annotations that are visible but not chaotic. Thick strokes everywhere make the page harder to read. Very thin strokes disappear when someone reopens the file on another screen.
A clean annotation style that stays readable
Professional markup has a visual grammar. Keep it consistent.
Try this working style:
- Reserve one color for action items.
- Use another color for questions or uncertainties.
- Write short notes in the margin, not across the body text.
- Circle only what needs attention, not entire paragraphs.
If someone else can't tell in two seconds what your annotation means, the mark is too vague or too messy.
The Apple Pencil is most valuable when it improves precision, not when it encourages more ink. Students benefit from this too. A neat system for underlines, symbols, and comment placement makes later review far easier than dense freehand scribbling over every page.
Saving Sharing and Finalizing Your Annotated PDF
A lot of PDF problems happen after the markup is finished. The annotation itself is fine. The issue is what version gets sent, whether the notes remain editable, and whether the file becomes too large to share easily.
Choose the right save format
The most important concept here is flattening.
A standard annotated PDF often keeps marks as a separate annotation layer. That's useful when a teammate may need to edit or remove them later. A flattened PDF merges the annotations into the page itself. That's better when the marks should stay fixed, such as a signed approval, a final reviewed draft, or a record copy.
Use this rule of thumb:
- Keep annotations editable when collaboration is still active.
- Flatten the file when the review is complete and the visible marks must not shift.
This is one of the biggest workflow decisions in document management. Sending the wrong version creates rework fast.
Share without creating a mess for the next person
Before you send the file, check three things:
- Open the saved PDF again and confirm the annotations display correctly.
- Rename the file clearly so the recipient knows whether it's a draft, reviewed copy, or final.
- Reduce file size if needed before sending by email or uploading to a portal.
Large annotated PDFs can grow quickly, especially if they include image-heavy pages or exported markup layers. If the file gets unwieldy, running it through a PDF compression tool can make sharing much easier without changing the core review outcome.
A final practical note. If you're handing off a PDF to someone who doesn't use the same app ecosystem, simpler is better. Clean annotations, a clear filename, and the correct save format prevent most compatibility headaches.
Send the file your recipient can actually use, not the file that made sense inside your app five minutes earlier.
The Best PDF Annotation Method for You
The best method depends on the document, not the device.
If you need a quick highlight, signature, or short comment, Apple Markup is the fastest path. If your workflow depends on structured notes, export options, form support, or better organization, a dedicated app is worth it. If you want a no-install method for short tasks, shared devices, or mixed jobs like edit plus convert plus compress, a browser workflow is often the cleanest answer.
For Mac and iPad users who regularly compare editing options across devices, it can also help to review a best free PDF editor for Mac roundup alongside your iPad setup so your workflow stays consistent across screens.
The key is simple. Match the tool to the consequences of the file. A class reading is forgiving. A contract isn't.
Frequently Asked Questions About iPad PDF Annotation
Can I annotate a PDF on iPad without installing anything?
Yes. Apple's built-in Markup handles basic tasks directly in Files, Mail, and other system apps. For more flexible browser-based editing, web tools are another no-install option.
Why did my fillable PDF stop working after I marked it up?
This is a common failure point. Freehand drawing or adding text via standard markup can overlay and disable form inputs, and 60% of iPad annotation errors happen this way. In capable apps like Adobe Acrobat, switching between annotation mode and form-fill mode helps preserve interactivity, as noted in the earlier Apple Pencil and workflow discussion.
Which app is best for students?
GoodNotes and Notability are both strong choices, but the better one depends on whether you care more about notebook organization or note-taking flow around class materials.
Should I flatten an annotated PDF before sending it?
Flatten it when the annotations should be permanent and uneditable, such as signed approvals or final review copies. Keep it unflattened when collaboration is still ongoing.
Where can I find answers to PDF BIRDS tool questions?
If you're using PDF BIRDS for editing, conversion, compression, or other document tasks, the PDF BIRDS FAQ page is the best place to check workflow details.
Need a fast way to handle your next PDF on iPad without installing another app? Try PDF BIRDS for free. It gives you browser-based tools for editing, converting, compressing, organizing, signing, securing, and managing PDFs in one place, which is ideal when a simple annotation turns into a larger document task.