
You've probably hit this problem already. You have a few JPGs on your Mac. Maybe they're receipts from your phone, scanned homework pages, screenshots for a report, or photos of signed paperwork. Sending them one by one is messy, and dropping a pile of image files into an email doesn't feel like a finished document.
A PDF fixes that fast. It gives you one file, one reading order, and a format that's easier to archive, print, and share. On a Mac, you can do this with built-in tools, automation, or a browser-based converter, depending on whether you need a quick one-off file or a cleaner workflow for larger jobs.
That matters because image-to-PDF conversion isn't some niche desktop task anymore. The broad consumerization of browser-based conversion turned it into an everyday action, and major platforms now let people convert images to PDF in a few clicks on almost any device, as described by Adobe Acrobat's online JPG to PDF workflow. On the Mac side, a key advantage is choice. You can stay fully offline, keep things simple, or use a more flexible method when page order and batch handling matter more.
If you also work with protected files after conversion, it helps to keep a tool for tasks like unlocking a secured PDF nearby.
Table of Contents
- Why Convert JPG to PDF on Your Mac
- Quick Conversions with Preview and Print to PDF
- Batch Processing in Finder and Photos App
- Automating JPG to PDF with Automator
- The Best Online JPG to PDF Converter for Mac Users
- Optimizing Your PDF Output Quality Orientation and Size
- Frequently Asked Questions About JPG to PDF Conversion
- Does converting JPG to PDF reduce image quality
- What's the best way to combine multiple JPG files into one PDF on a Mac
- Can I convert JPG to PDF without installing software
- Is it safe to use an online JPG to PDF converter
- How do I reduce the size of a PDF made from JPG files
- Why are my PDF pages in the wrong order
- Can I make a PDF from Photos on Mac
- Which Mac method should I use most often
Why Convert JPG to PDF on Your Mac
JPG is great when you're dealing with a single image. It's not great when you're trying to send a packet of receipts, a set of assignment pages, or a simple document that needs to feel complete. A PDF pulls those separate images into one file and makes the result easier for other people to open, review, print, and store.
On a Mac, this is usually less about “how do I convert a file” and more about choosing the right method for the job. If you have one image, Preview is often enough. If you have several pages and need them in order, Finder or Print to PDF can work. If you repeat the same task often, Automator saves time. If you need more flexibility from any browser, an online converter is often easier.
Practical rule: Choose your method based on the number of images, whether page order matters, and whether the files are sensitive.
That last point gets overlooked. A school assignment and a set of family photos can be handled differently from IDs, contracts, or invoices. On the Mac, one of the biggest advantages is that you can stay fully offline when needed and still create a clean PDF.
The useful shift over the last several years is that converting images into PDFs has become normal document work, not a specialist process. That's why there are now so many paths to the same outcome. The best one depends on whether you care most about speed, batch handling, privacy, or final document polish.
Quick Conversions with Preview and Print to PDF
If you only need to turn one image into a PDF, or combine a few files without extra setup, macOS already has what you need. These methods are fast, offline, and reliable for everyday work.
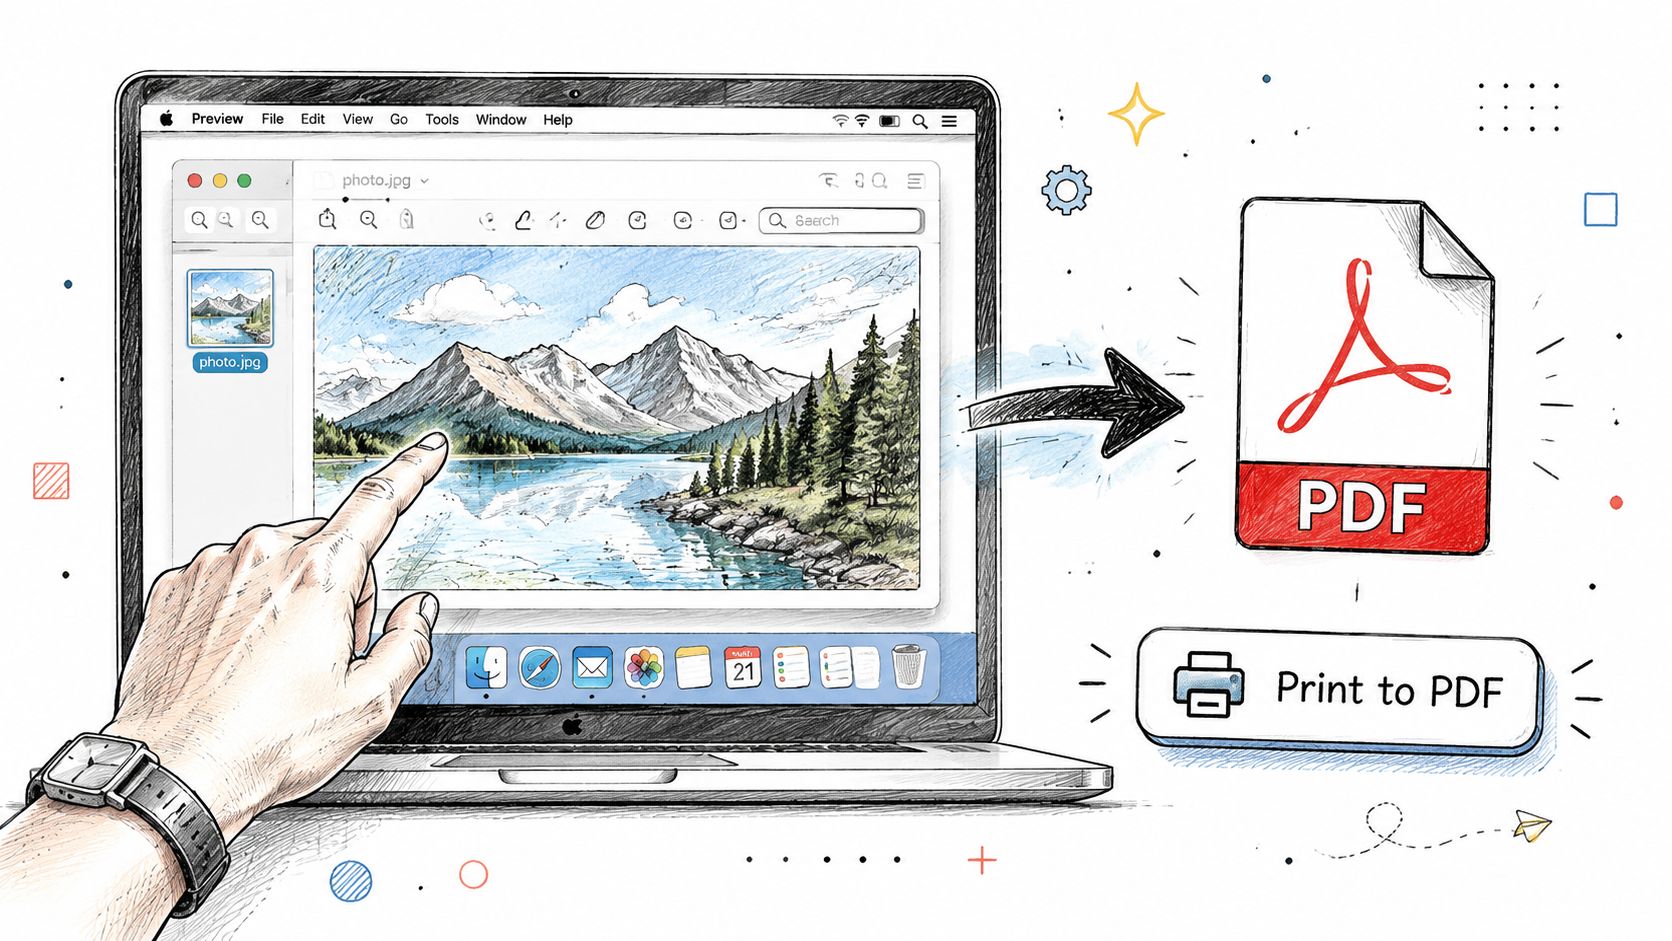
Use Preview for a single JPG
Preview is the simplest method on a Mac for a one-image conversion.
- Find your JPG in Finder.
- Double-click it to open it in Preview. If another app opens it, right-click the file and choose Open With > Preview.
- In the menu bar, click File > Export as PDF.
- Choose the save location.
- Rename the file if needed, then click Save.
That's it. You now have a PDF version of the image.
This method works best when you're handling one page, like a scan of a signed form or a screenshot you need to submit as a document. It's quick because there's almost nothing to configure. The trade-off is that Preview isn't the most convenient option when you're trying to assemble a longer multi-page file from many JPGs.
Use Print to PDF for a small set of images
Print to PDF is one of the most useful hidden features in macOS. It's good for small batches when you want multiple images in a single PDF.
Try this workflow:
- Select the JPG files in Finder.
- Open them in Preview together. If they don't open as one grouped sidebar, select them first, then right-click and choose Open With > Preview.
- In Preview's sidebar, confirm the thumbnails are in the order you want.
- Click File > Print.
- In the print dialog, use the PDF button at the bottom left.
- Choose Save as PDF.
- Pick your file name and location, then save.
The reason this works well is control. You can see the thumbnail order before you create the file, and you don't need any extra app or upload step.
A few practical notes help:
- Rename files first: If you opened a group of images from Finder, the initial sequence often follows file name order.
- Check the sidebar: If page 3 is sitting above page 2, your PDF will be wrong too.
- Use this for small jobs: It's fine for a handful of pages. It gets clumsy when you have a much larger batch.
If you want a browser-based option later for image merging, PDF Birds' image to PDF tool is another route, but for quick offline Mac work, Preview and Print to PDF are usually the fastest start.
If your only goal is “make this JPG a PDF right now,” Preview wins. If your goal is “combine a few images into one document,” Print to PDF is usually the better native choice.
Batch Processing in Finder and Photos App
The moment you move from two images to a folder full of them, the best method changes. Batch work needs less clicking, better sequence control, and a way to create one document without opening and saving files one by one.
Modern JPG to PDF tools are built for scale. Some services support converting up to 150 images in a single conversion, which shows how common bulk image-to-PDF workflows have become for receipts, photo sets, portfolios, and scanned pages, as noted by PDF4me's image to PDF tool.
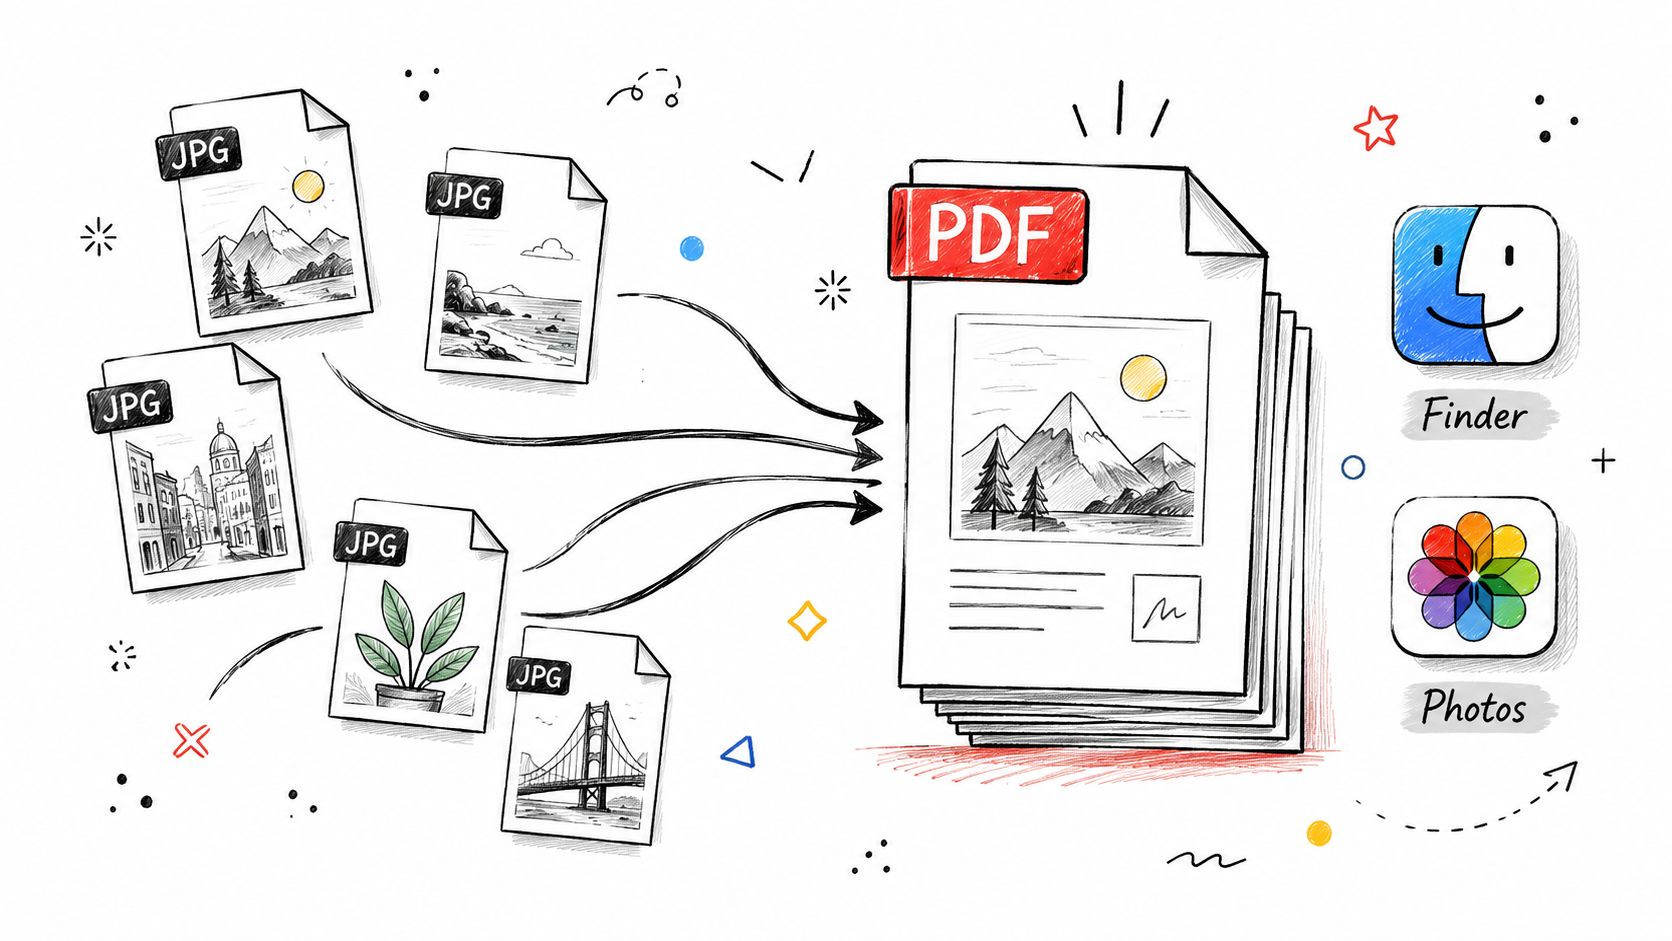
Use Finder Quick Actions for folders of JPGs
Finder's Quick Actions can save a lot of time if your files are already in a folder and named properly.
On many Macs, the workflow looks like this:
- Open the folder containing your JPG files.
- Sort them into the right order. Name order matters, so filenames like
01,02,03help. - Select the images.
- Right-click and look for a Quick Actions option.
- If Create PDF appears, click it.
macOS will generate a PDF from the selected files. On some systems, available Quick Actions vary, so if you don't see Create PDF, the Preview method remains the most dependable built-in fallback.
This is one of the fastest native methods when you're working with a batch of scans from a phone or scanner. It's especially handy when your files already live in Finder and aren't part of your Photos library.
The main limitation is customization. Finder is efficient, but it doesn't give you much help with margins, page sizing, or visual review before final output. It's a speed tool, not a polish tool.
Use the Photos app when your images are already organized
If your images are in the Photos app, don't export them one by one unless you have to. Albums already give you a rough document structure.
A practical way to handle this is:
- Select a small set or full album: Click the images you want in the PDF.
- Review the visual sequence: Rearrange in the app first if presentation matters.
- Use the print workflow: In many cases, printing from Photos and choosing Save as PDF produces the cleanest result.
This works well for travel logs, project summaries, classroom portfolios, and basic visual packets. It's less ideal for formal document scans, where precise page layout matters more than gallery-style selection.
Here's a quick visual walkthrough if you want to see a Mac batch workflow in action before trying it yourself:
A good rule on Mac is simple. If the files live in Finder, start there. If they live in Photos and you've already grouped them into an album, use that organization instead of rebuilding it elsewhere.
Automating JPG to PDF with Automator
If you convert JPGs to PDF every week, repeated manual clicks get old fast. Automator fixes that. It lets you build a custom right-click action on your Mac so the conversion becomes part of your normal file workflow.
When Automator is worth using
Automator makes sense when the task is repetitive and predictable.
Examples where it helps:
- Office admin work: You regularly turn scanned pages into PDFs for filing.
- School submissions: You often package assignment images into one document.
- Client operations: You convert phone photos of forms, receipts, or sketches into shareable PDFs.
It's less useful for occasional one-off tasks. If you only do this once a month, Preview is usually easier. But if you keep reaching for the same menu options, automation starts to pay off.
Build a custom Quick Action
You don't need to build a complicated script. A simple Quick Action is enough for many Mac users.
Use this general setup:
- Open Automator from Applications.
- Choose Quick Action as the document type.
- At the top of the workflow, set it to receive image files in Finder.
- Add the action that creates a PDF from images.
- If you want, add another action to rename the result or move it to a chosen folder.
- Save the workflow with a clear name like Convert JPG to PDF.
Once saved, you can select image files in Finder, right-click, and run your custom action from the Quick Actions or Services menu.
The biggest benefit of Automator isn't raw speed. It's consistency. You remove the chance of forgetting a step because your Mac performs the same workflow each time.
You can also tailor the process around your habits. For example, if you always drop finished PDFs into one client folder, build that into the action. If you want the file renamed after conversion, add that too. Automator works best when you remove small repetitive decisions.
A few setup tips make it smoother:
- Test on sample files first: Make sure the output lands where you expect.
- Keep the workflow simple: Too many extra actions create more points of failure.
- Use clear file names before conversion: Automation can't fix a confusing image order by itself.
If you're the kind of Mac user who likes a permanent tool in the right-click menu, Automator is one of the cleanest ways to get it. If you need broader document tools beyond this one task, PDF Birds also groups related options in its PDF tool categories, which can be useful for follow-up steps like compressing or reorganizing the finished file.
The Best Online JPG to PDF Converter for Mac Users
Built-in Mac tools are excellent for basic conversions, but they have limits. They're not always ideal when you need to reorder many files visually, work on a borrowed computer, switch between devices, or handle several document tasks in one browser session.
When a browser tool beats a native Mac method
An online JPG to PDF converter is usually the better choice when flexibility matters more than staying local.
That includes cases like these:
- You need drag-and-drop ordering: Native tools can feel rigid when the sequence is complicated.
- You're working across devices: A browser workflow is easier if you move between Mac, iPad, or another computer.
- You want follow-up tools nearby: After converting, you may want to compress, merge, split, or export pages as images.
- You don't want to install anything: Browser conversion keeps the process lightweight.
This browser-first style reflects how mainstream document handling has shifted. People now expect upload, automatic conversion, and download to happen in a few clicks.
A practical online workflow on Mac
A good online converter should feel simple from the first screen. On a Mac, the easiest browser workflow usually looks like this:
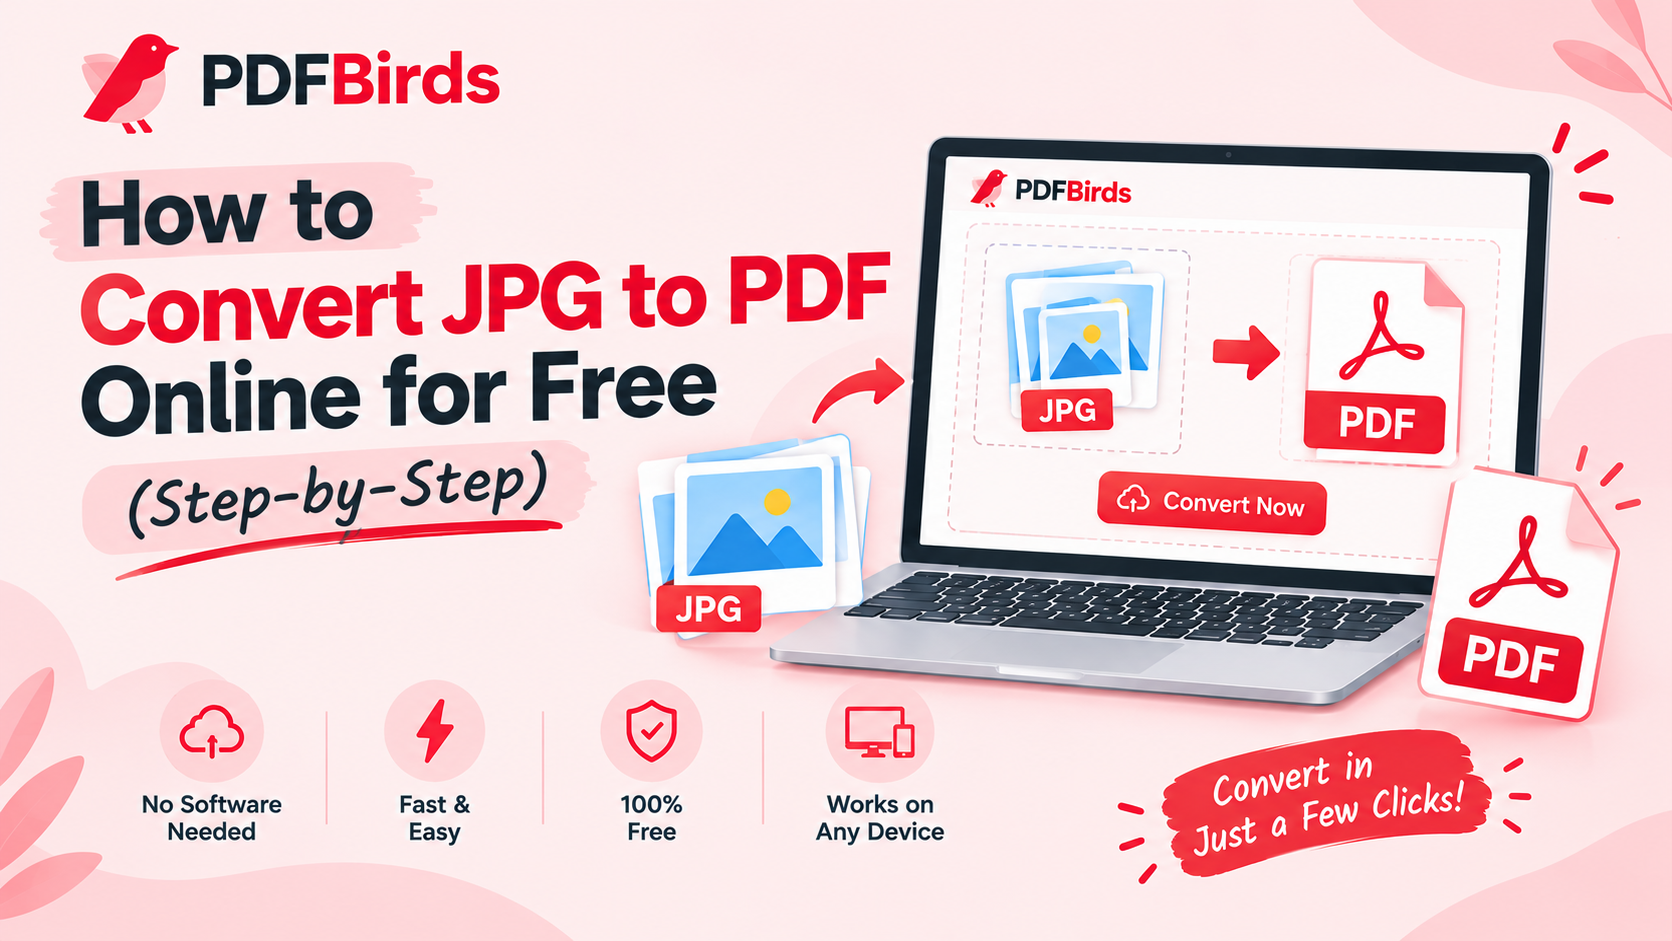
- Open the JPG to PDF tool in Safari, Chrome, or another browser.
- Drag your JPG files into the upload area.
- Reorder the images if the final page sequence matters.
- Start the conversion.
- Download the finished PDF.
- If needed, move straight into related tasks like compression or merging.
Browser tools often surpass Preview. Visual reordering is easier. The upload area often accepts multiple files cleanly. And if your final PDF needs one more adjustment, you don't have to switch into another desktop app.
If you later need the reverse workflow, such as extracting images from a document, a PDF to JPG tool is the natural companion.
Privacy and cloud conversion trade-offs
Convenience isn't the only consideration. Privacy matters.
For ordinary materials like screenshots, class notes, or a photo-based portfolio, an online converter is usually a practical fit. For sensitive files like contracts, IDs, invoices, or regulated documents, an offline method on your Mac may be the safer choice. That trade-off is important, and some online services address it by emphasizing encrypted transfers and automatic file deletion, while offline workflows avoid upload entirely, as explained by PDFShelter's discussion of JPG to PDF privacy choices.
A good rule is to sort your jobs into two buckets:
| File type | Best starting point |
|---|---|
| Everyday images, homework, screenshots, non-sensitive receipts | Browser-based converter |
| IDs, contracts, confidential invoices, regulated records | Offline Mac workflow |
Choose online tools for convenience. Choose offline tools for sensitive content. The right method depends on the document, not just the device.
For many Mac users, the best online JPG to PDF converter is the one that keeps the workflow clear. Upload, reorder, convert, download. If those basics are smooth, the tool is doing its job.
Optimizing Your PDF Output Quality Orientation and Size
Converting a JPG to PDF isn't the finish line. The ultimate goal is a PDF that opens cleanly, reads in the right order, looks correct on screen, and isn't unnecessarily awkward to send.
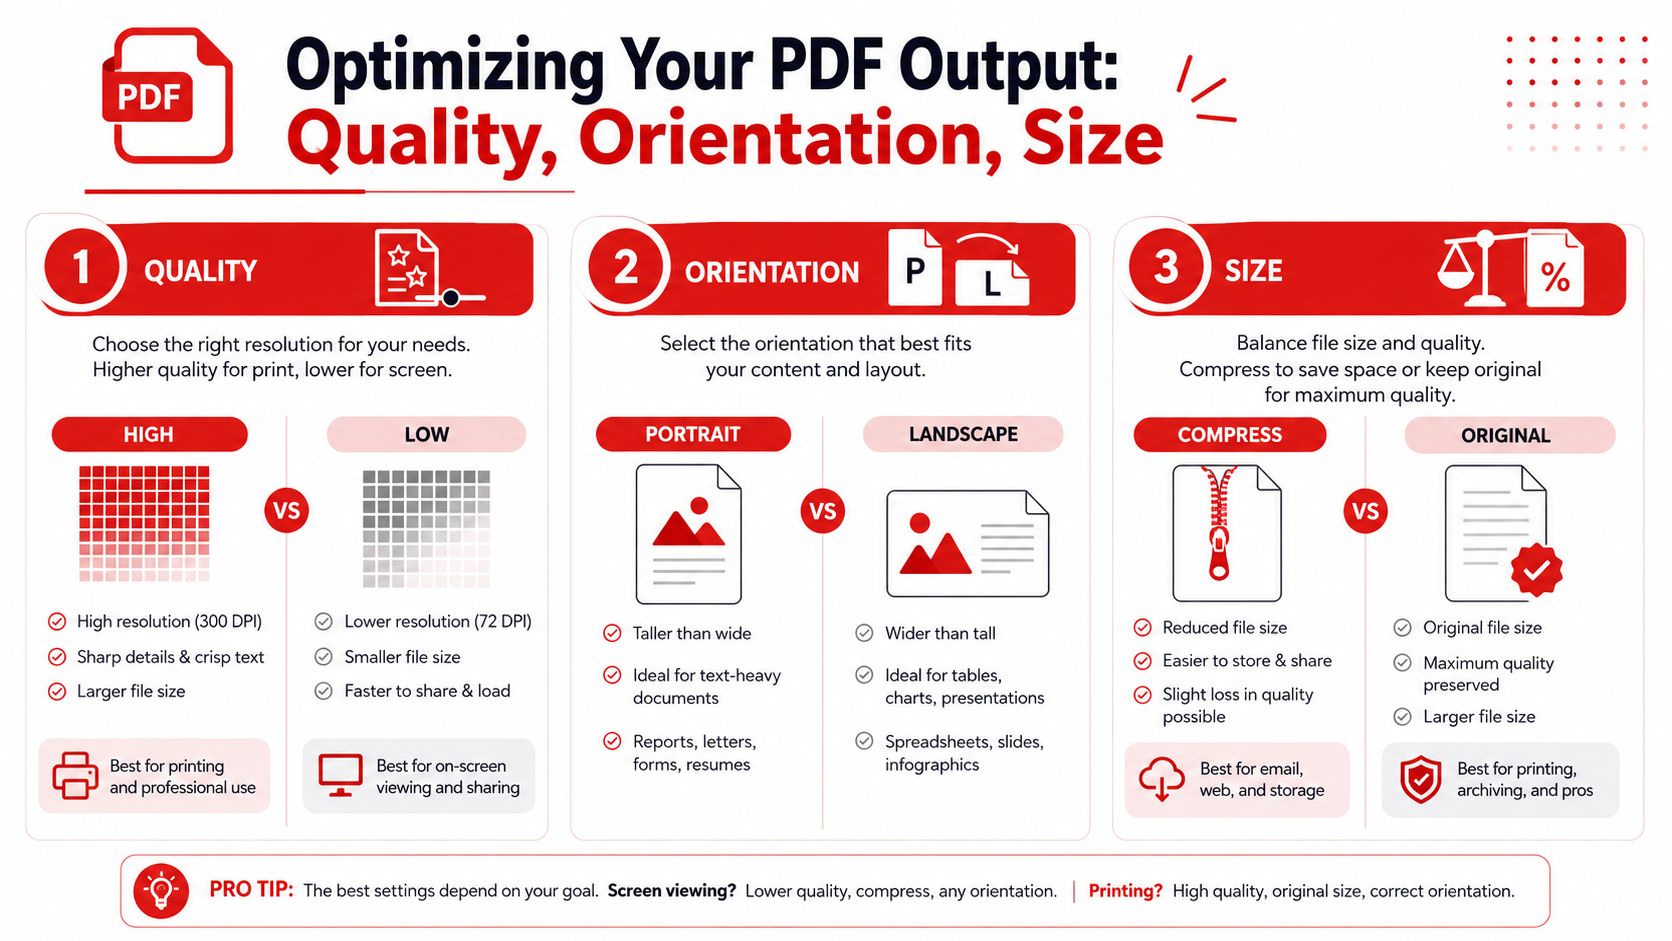
Get the page order right before you convert
The most common mistake in a JPG to PDF workflow isn't conversion failure. It's getting a valid PDF with the wrong page sequence. That's why experienced users treat file order as a quality check before conversion, not something to fix later, as noted by PDFgear's JPG to PDF guidance.
On a Mac, this means you should pause before clicking Save or Convert and check:
- Filename order:
page-1,page-2,page-10can sort badly if you don't use leading zeros. - Thumbnail sequence: If the converter shows previews, drag them into the right order there.
- Mixed sources: If some images came from your phone and others from downloads, don't assume they'll sort logically.
If the document tells a story, page order is part of document quality. Receipts, forms, assignments, and presentations all break when sequence is off.
Balance image quality and file size
A PDF can look sharp and still be too heavy to email comfortably. Or it can be tiny but unpleasant to read. The right result depends on use.
Use this simple decision guide:
- Screen viewing only: Moderate compression is often enough.
- Printing or signatures: Keep quality higher.
- Archive copy: Aim for clarity first, then reduce size if needed.
- Email attachment: Compress after conversion if the file feels bulky.
On Mac, Preview can help with export and file review, but dedicated PDF tools often make compression easier after the PDF is created. That's usually the better approach. Make the document readable first. Optimize size second.
A smaller PDF isn't automatically better. If someone has to zoom into every page to read it, the file is optimized for storage, not for use.
If your PDF contains photos rather than text-heavy scans, size can grow quickly. In those cases, reducing dimensions or compressing after conversion often works better than trying to over-control the original image files.
Fix orientation and page size before sharing
Orientation problems make documents feel sloppy even when the content is fine. A mix of portrait and horizontally oriented pages can be correct, but it should be intentional.
Check these points before sending:
- Open the finished PDF and scroll through every page.
- Rotate pages that are sideways.
- Confirm that wide images don't look squeezed onto portrait pages.
- Make sure margins and page framing look reasonably consistent.
If you're converting screenshots, design mockups, or presentation slides, a horizontal page orientation often makes more sense. If you're packaging forms, letters, notes, or receipts, portrait is usually easier for other people to print.
For follow-up edits after conversion, including page rotation or light adjustments, this guide to the best free PDF editor for Mac is a useful next step.
Mac JPG to PDF Method Comparison
The best Mac method depends on what kind of task you're trying to finish. Here's a practical comparison.
| Method | Ease of Use | Batch Capability | Customization | Best For |
|---|---|---|---|---|
| Preview export | Very easy | Low | Low | One JPG to one PDF |
| Print to PDF | Easy | Small batch | Low to medium | Combining a few images quickly |
| Finder Quick Actions | Very easy | Good | Low | Fast folder-based conversion |
| Photos app | Easy | Good | Low to medium | Albums, portfolios, visual collections |
| Automator | Medium | Good | High | Repeated workflows on your Mac |
| Online converter | Very easy | Strong | Medium to high | Reordering, multi-device use, follow-up PDF tasks |
This table points to a practical truth. There isn't one best JPG to PDF method for every Mac user. There's a best method for the specific job in front of you.
Frequently Asked Questions About JPG to PDF Conversion
Does converting JPG to PDF reduce image quality
Not automatically. A PDF can preserve the appearance of the original image quite well, but the final result depends on the method and any compression applied afterward.
If quality matters, use the cleanest original JPG you have and avoid unnecessary re-exporting. If the image already looks soft or pixelated, converting it into a PDF won't improve it. The PDF can only preserve what's already there.
What's the best way to combine multiple JPG files into one PDF on a Mac
For a small set of images, Print to PDF through Preview is usually the easiest built-in method. For a larger folder, Finder Quick Actions can be faster if your Mac shows the Create PDF option. If you need clearer drag-and-drop page ordering, a browser-based converter is often simpler.
The best choice depends on whether you care most about staying offline, handling a bigger batch, or controlling the sequence visually.
Can I convert JPG to PDF without installing software
Yes. On a Mac, you can do it with Preview and the print system without installing anything. You can also do it in a browser with a web-based converter.
That split is useful. Native tools are great for local work. Browser tools are better when you want convenience across devices.
Is it safe to use an online JPG to PDF converter
It depends on the file and the service. For everyday images, online conversion is often fine. For sensitive documents, local Mac workflows are the safer default.
When you do use a browser tool, look for signs of a trustworthy setup:
- No forced signup for basic use: Less friction usually means simpler handling.
- Secure file transfer: The service should use encrypted connections.
- Temporary processing: Automatic deletion after processing is a good sign.
- Clear workflow: You should know when the file is uploaded, converted, and removed.
If the document contains personal identification, confidential agreements, or regulated business data, use an offline method unless you have a reason to trust the online environment.
How do I reduce the size of a PDF made from JPG files
Start by checking whether the PDF is too large for your purpose. If it opens quickly and sends without trouble, you may not need to change anything.
If it does need to be smaller, these steps usually help:
- Convert the JPGs into a PDF first.
- Review the PDF for readability.
- Compress the finished PDF with a dedicated PDF tool.
- Recheck text sharpness and image legibility before sharing.
This approach is better than aggressively shrinking every JPG before conversion because it lets you judge the document as a whole.
Why are my PDF pages in the wrong order
This usually happens because the source images were sorted differently than you expected. Mac workflows often follow file name order or selection order.
Fix it by checking sequence before conversion:
- Rename pages clearly: Use leading zeros like
01,02,03. - Review thumbnails: Don't trust the order blindly.
- Drag to rearrange when available: Browser tools often make this easiest.
If page order matters, treat it like proofreading. It deserves a check before the final file is created.
Can I make a PDF from Photos on Mac
Yes. If your images are already in the Photos app, select them and use the print flow to save as PDF. This works well for visual collections, project summaries, or album-based exports.
For formal document packets, Finder or Preview often gives you better control.
Which Mac method should I use most often
Use the simplest method that matches the job:
- Preview for one image
- Print to PDF for a few pages
- Finder for quick batch jobs
- Photos for library-based image sets
- Automator for repeated tasks
- An online converter for visual reordering and flexible browser use
That's the shortcut. Don't memorize one method. Match the method to the task.
If you want a fast browser workflow after reading this, try PDF BIRDS for JPG to PDF conversion and related tasks like merging, compressing, splitting, editing, and securing documents. It's a practical option when you want one place to handle the full PDF workflow without installing extra software.